**February 23, 2024**
# How to Install a Gate Post Brace for Your Next Project
Whether you're a seasoned pro or just starting out, nobody wants a sagging gate ruining their hard work. A sturdy gate begins with a well-installed brace post. Let's dive into the essentials of building an H-Brace—a key component in keeping your fence upright and reliable.
---
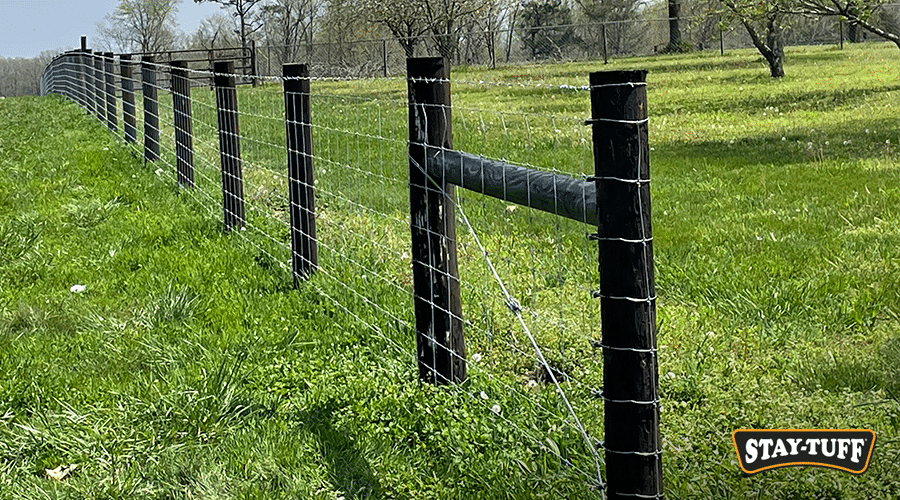
_An H-Brace is crucial for ensuring your fence remains stable over time._
---
## Why an H-Brace Matters
H-Braces are indispensable for maintaining the integrity of your wire fencing. These structures are critical whenever your fence changes direction, starts, or ends—including areas around gates. Without proper bracing, your fence could start leaning or sagging, leading to costly repairs down the road.
---
### Components of an H-Brace
An H-Brace consists of several key elements:
1. **End Post**: This is the main support post where the fence wire is fastened at the beginning or end of a fence line.
2. **Brace Post**: Positioned opposite the end post, this post anchors the high-tensile fence and supports its weight.
3. **Cross Member**: A horizontal post that connects the end post and brace post, helping distribute tension across the system.
4. **Brace Pins**: These 4-inch and 10-inch pins secure the cross member in place on wooden braces.
5. **Brace Wire**: Essential for transferring force between the posts, brace wire keeps the entire structure stable. Inline strainers are often used to tighten brace wires on wooden assemblies.
Without brace wire, the entire structure risks tilting toward the direction of the fence’s pull. Properly installed brace wire ensures stability and longevity.
---
## When and How to Install a Brace
A brace should be installed wherever your fence changes direction or ends. For instance, Single-H Braces can be spaced up to 1,320 feet apart without compromising performance.
### Step-by-Step Installation
1. **Set Your End Posts**: Begin by placing your end posts in the desired location. In firm soil, wood posts should be buried between 3.5 and 5.5 feet deep, depending on the fence height and soil conditions.
2. **Run a Guide Wire**: Use a guide wire to ensure alignment as you proceed. This wire can either remain temporary or become permanent, depending on your preference.
3. **Install Brace Posts and Line Posts**: Next, place your brace posts alongside the line posts. Line posts are the intermediate posts that run along the length of the fence section.
4. **Attach Cross Members**: Secure the cross member using brace pins if needed. Tighten everything securely to prevent movement.
5. **Add Brace Wire and Strainers**: Finally, attach brace wire and tighten it with inline strainers to ensure uniform tension throughout the structure.
When done right, this setup requires minimal maintenance while providing years of reliable service.
---
## Choose Quality, Choose STAY-TUFF
At STAY-TUFF, we pride ourselves on offering top-tier materials for every fence project. From wires to panels, our products are designed to stand the test of time. Visit your local dealer today to explore our full range of options.
For precise planning, check out our online calculator, which helps you estimate exactly what you’ll need based on your specifications.
---
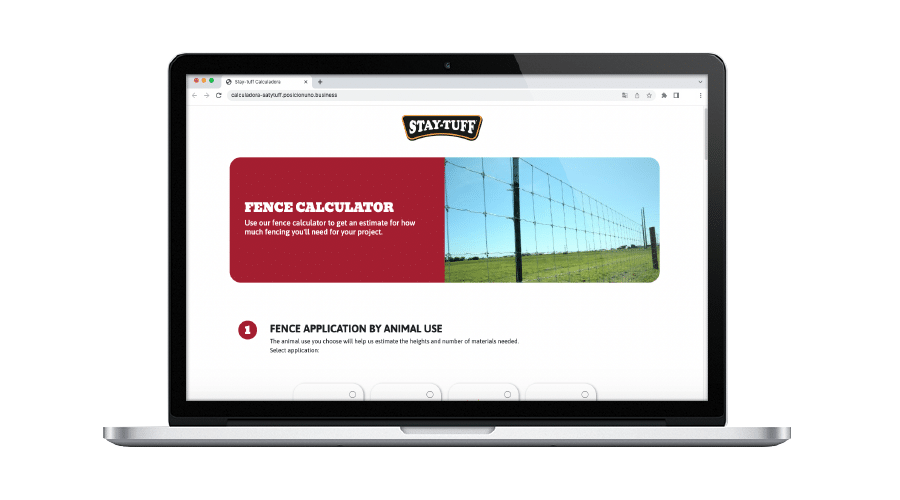
_The STAY-TUFF Calculator simplifies estimating your project needs._
---
Ready to take your fencing to the next level? Browse our site to learn more about how STAY-TUFF can help bring your vision to life. Stronger fences start here!
Dried Fish Chips,Snacks Dried Fish,Dry Fish Chips,Dried Fish Bulk
Yanji Yongzhen Food Co., Ltd , https://www.yanjiyongzhenfood.com